Car project (entry 2 of 4)
By kate on January 22nd, 2010
(mouse over pictures for captions and click for bigger versions)
Before this project, I knew very little about cars. Looking under a hood, I could identify only a few things like the dipstick and fluid reservoirs. The most advanced work I’d done to date was to replace my headlights a few times (a very simple procedure).
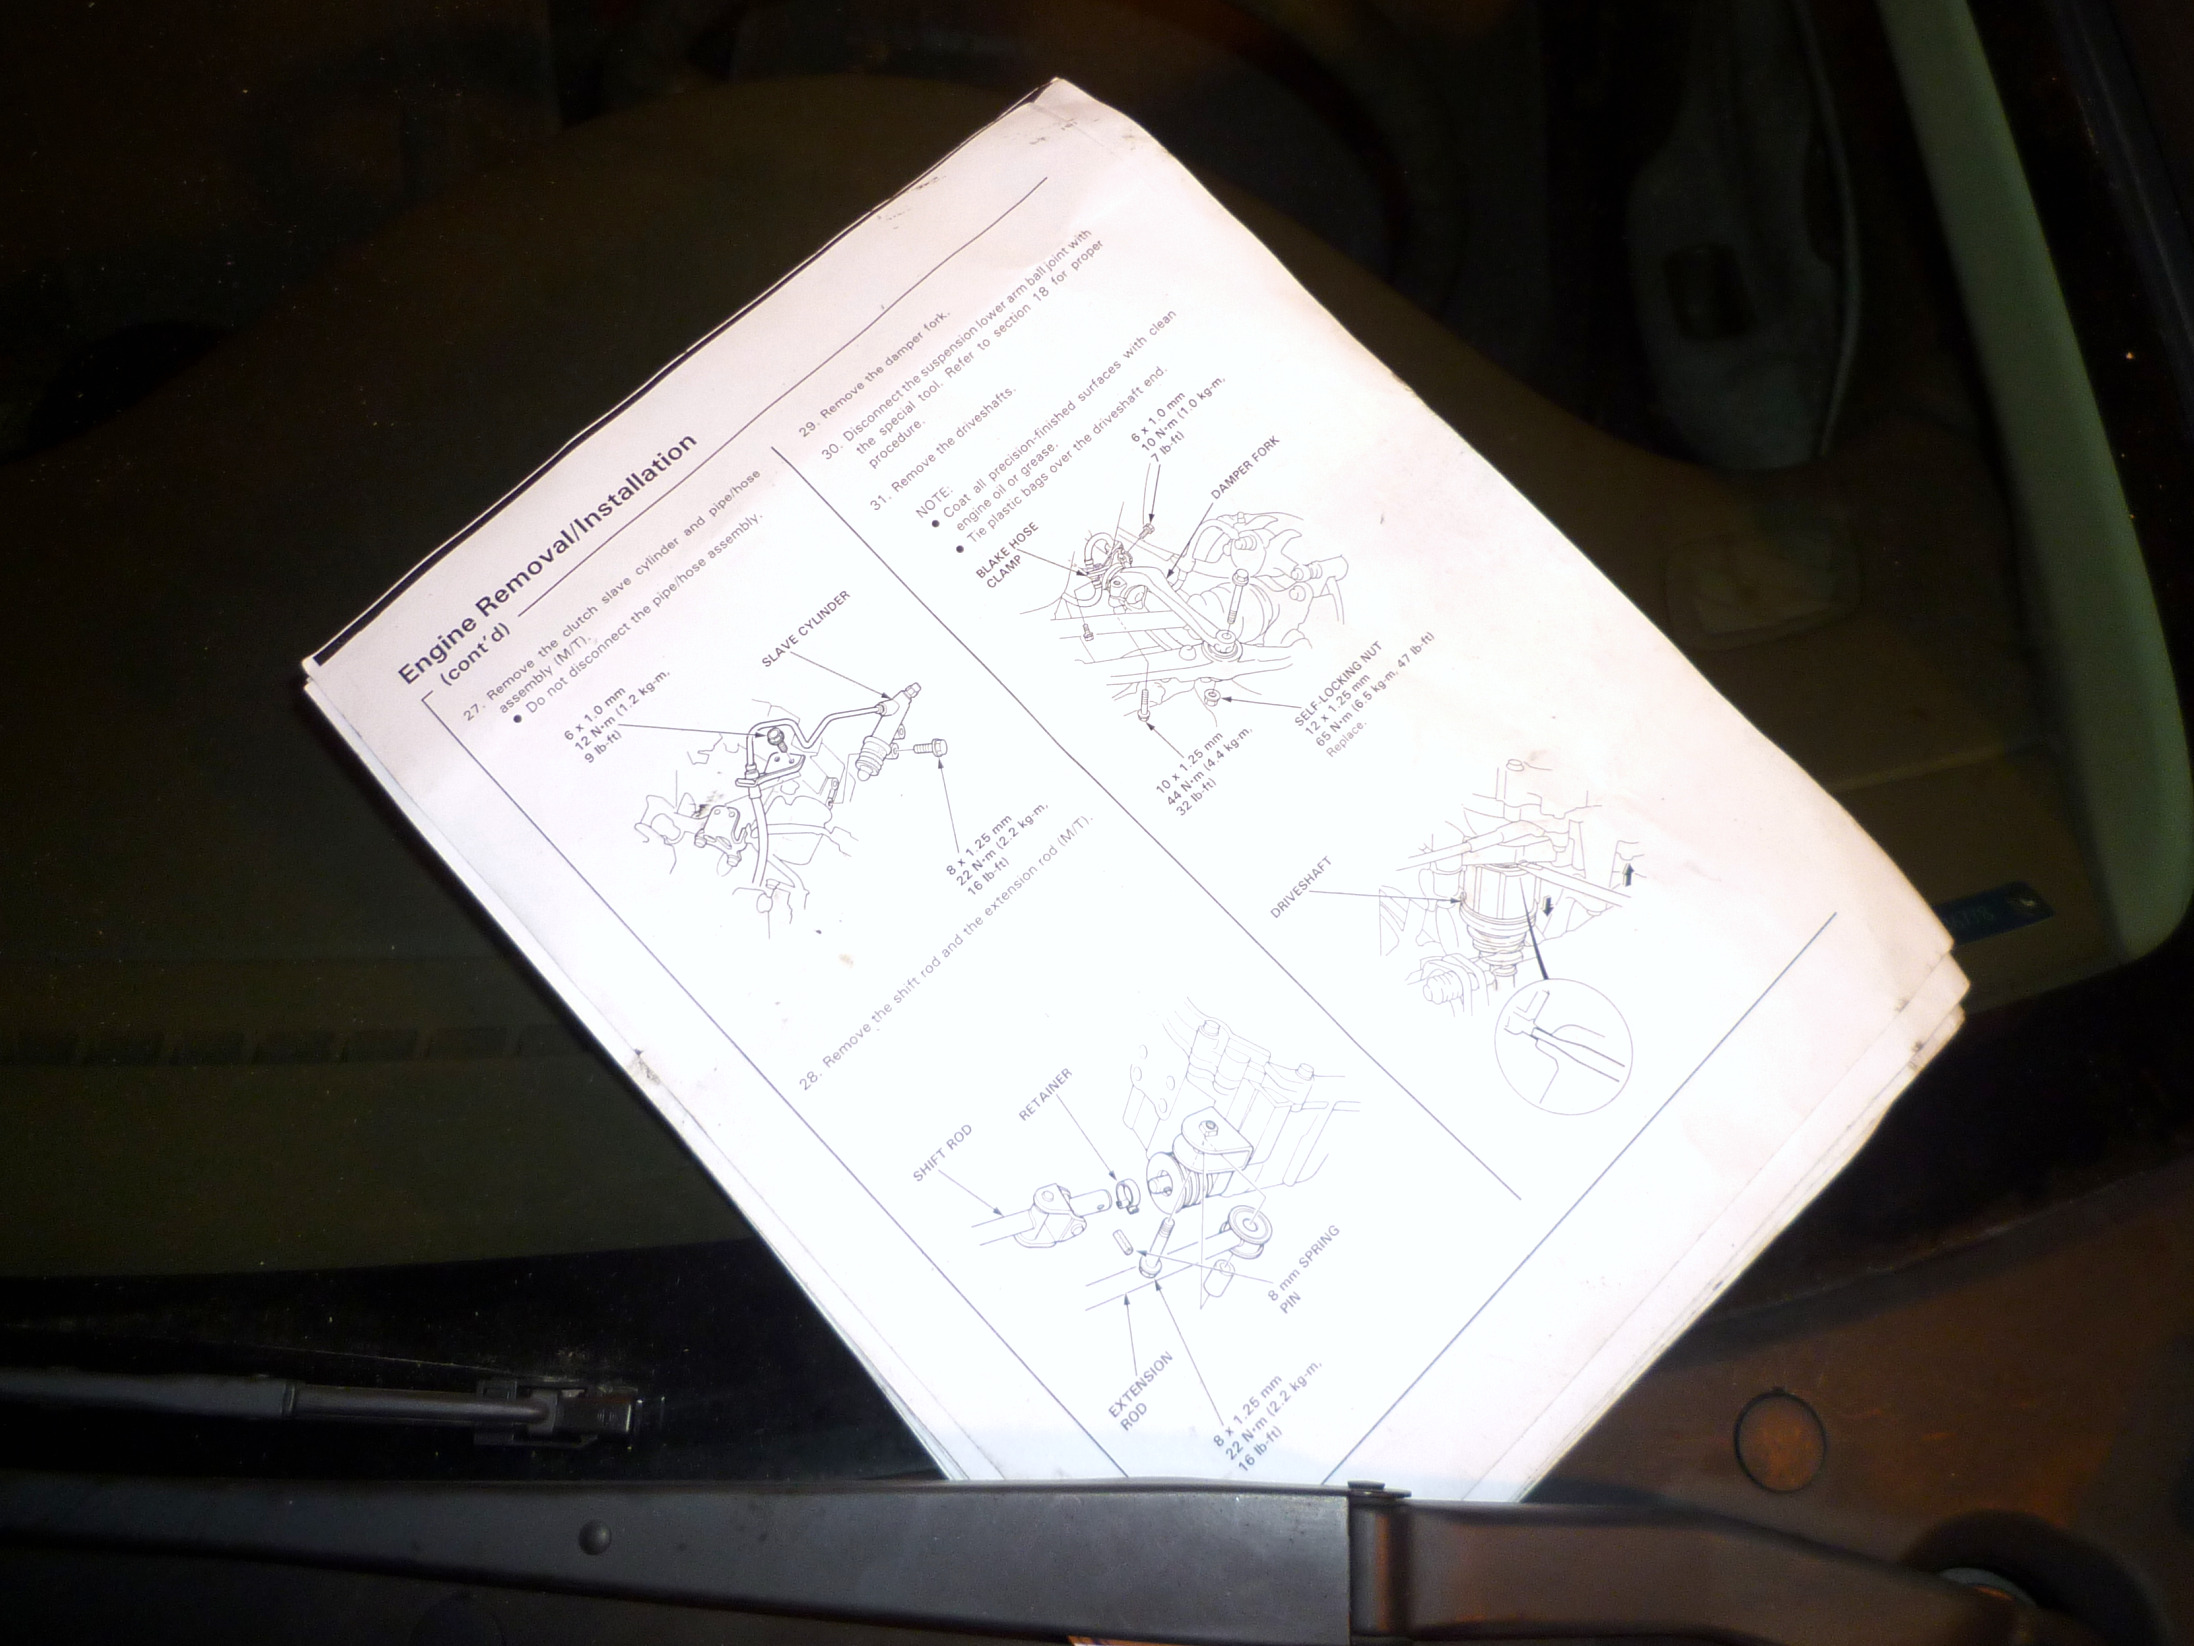 We equipped ourselves with the PDF version of the 1200+ page Honda Civic Service Manual. One version was all over the internet, and it was very inconveniently missing three pages from the engine replacement section (just what we needed). I had to go to the downtown library to photocopy the relevant pages!
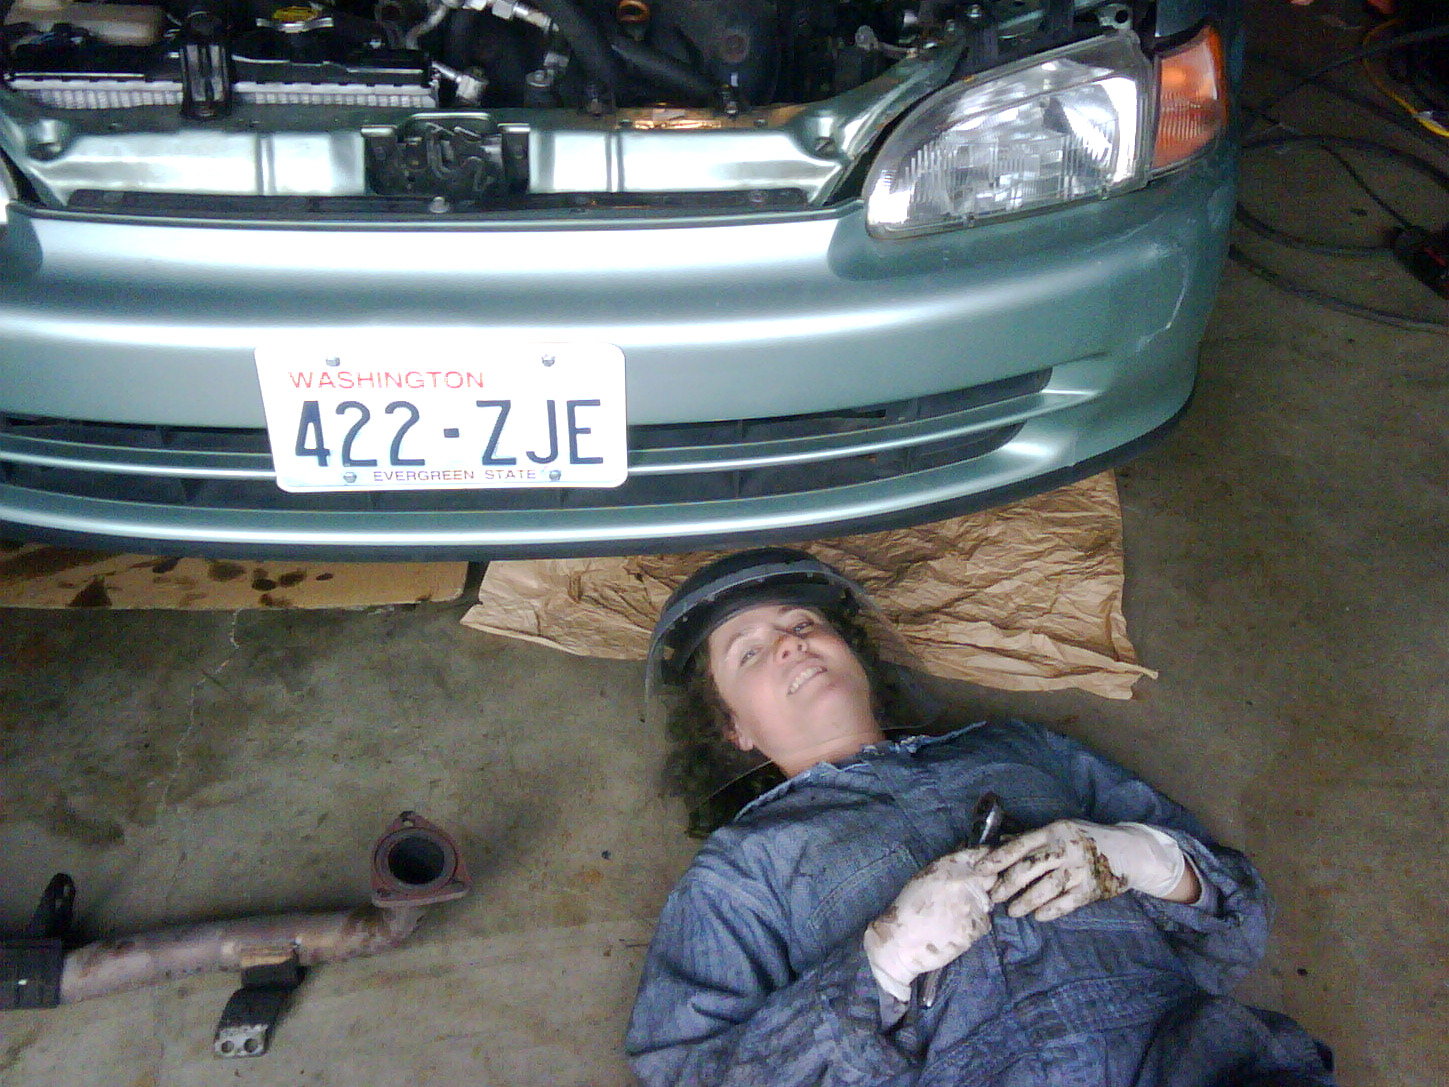
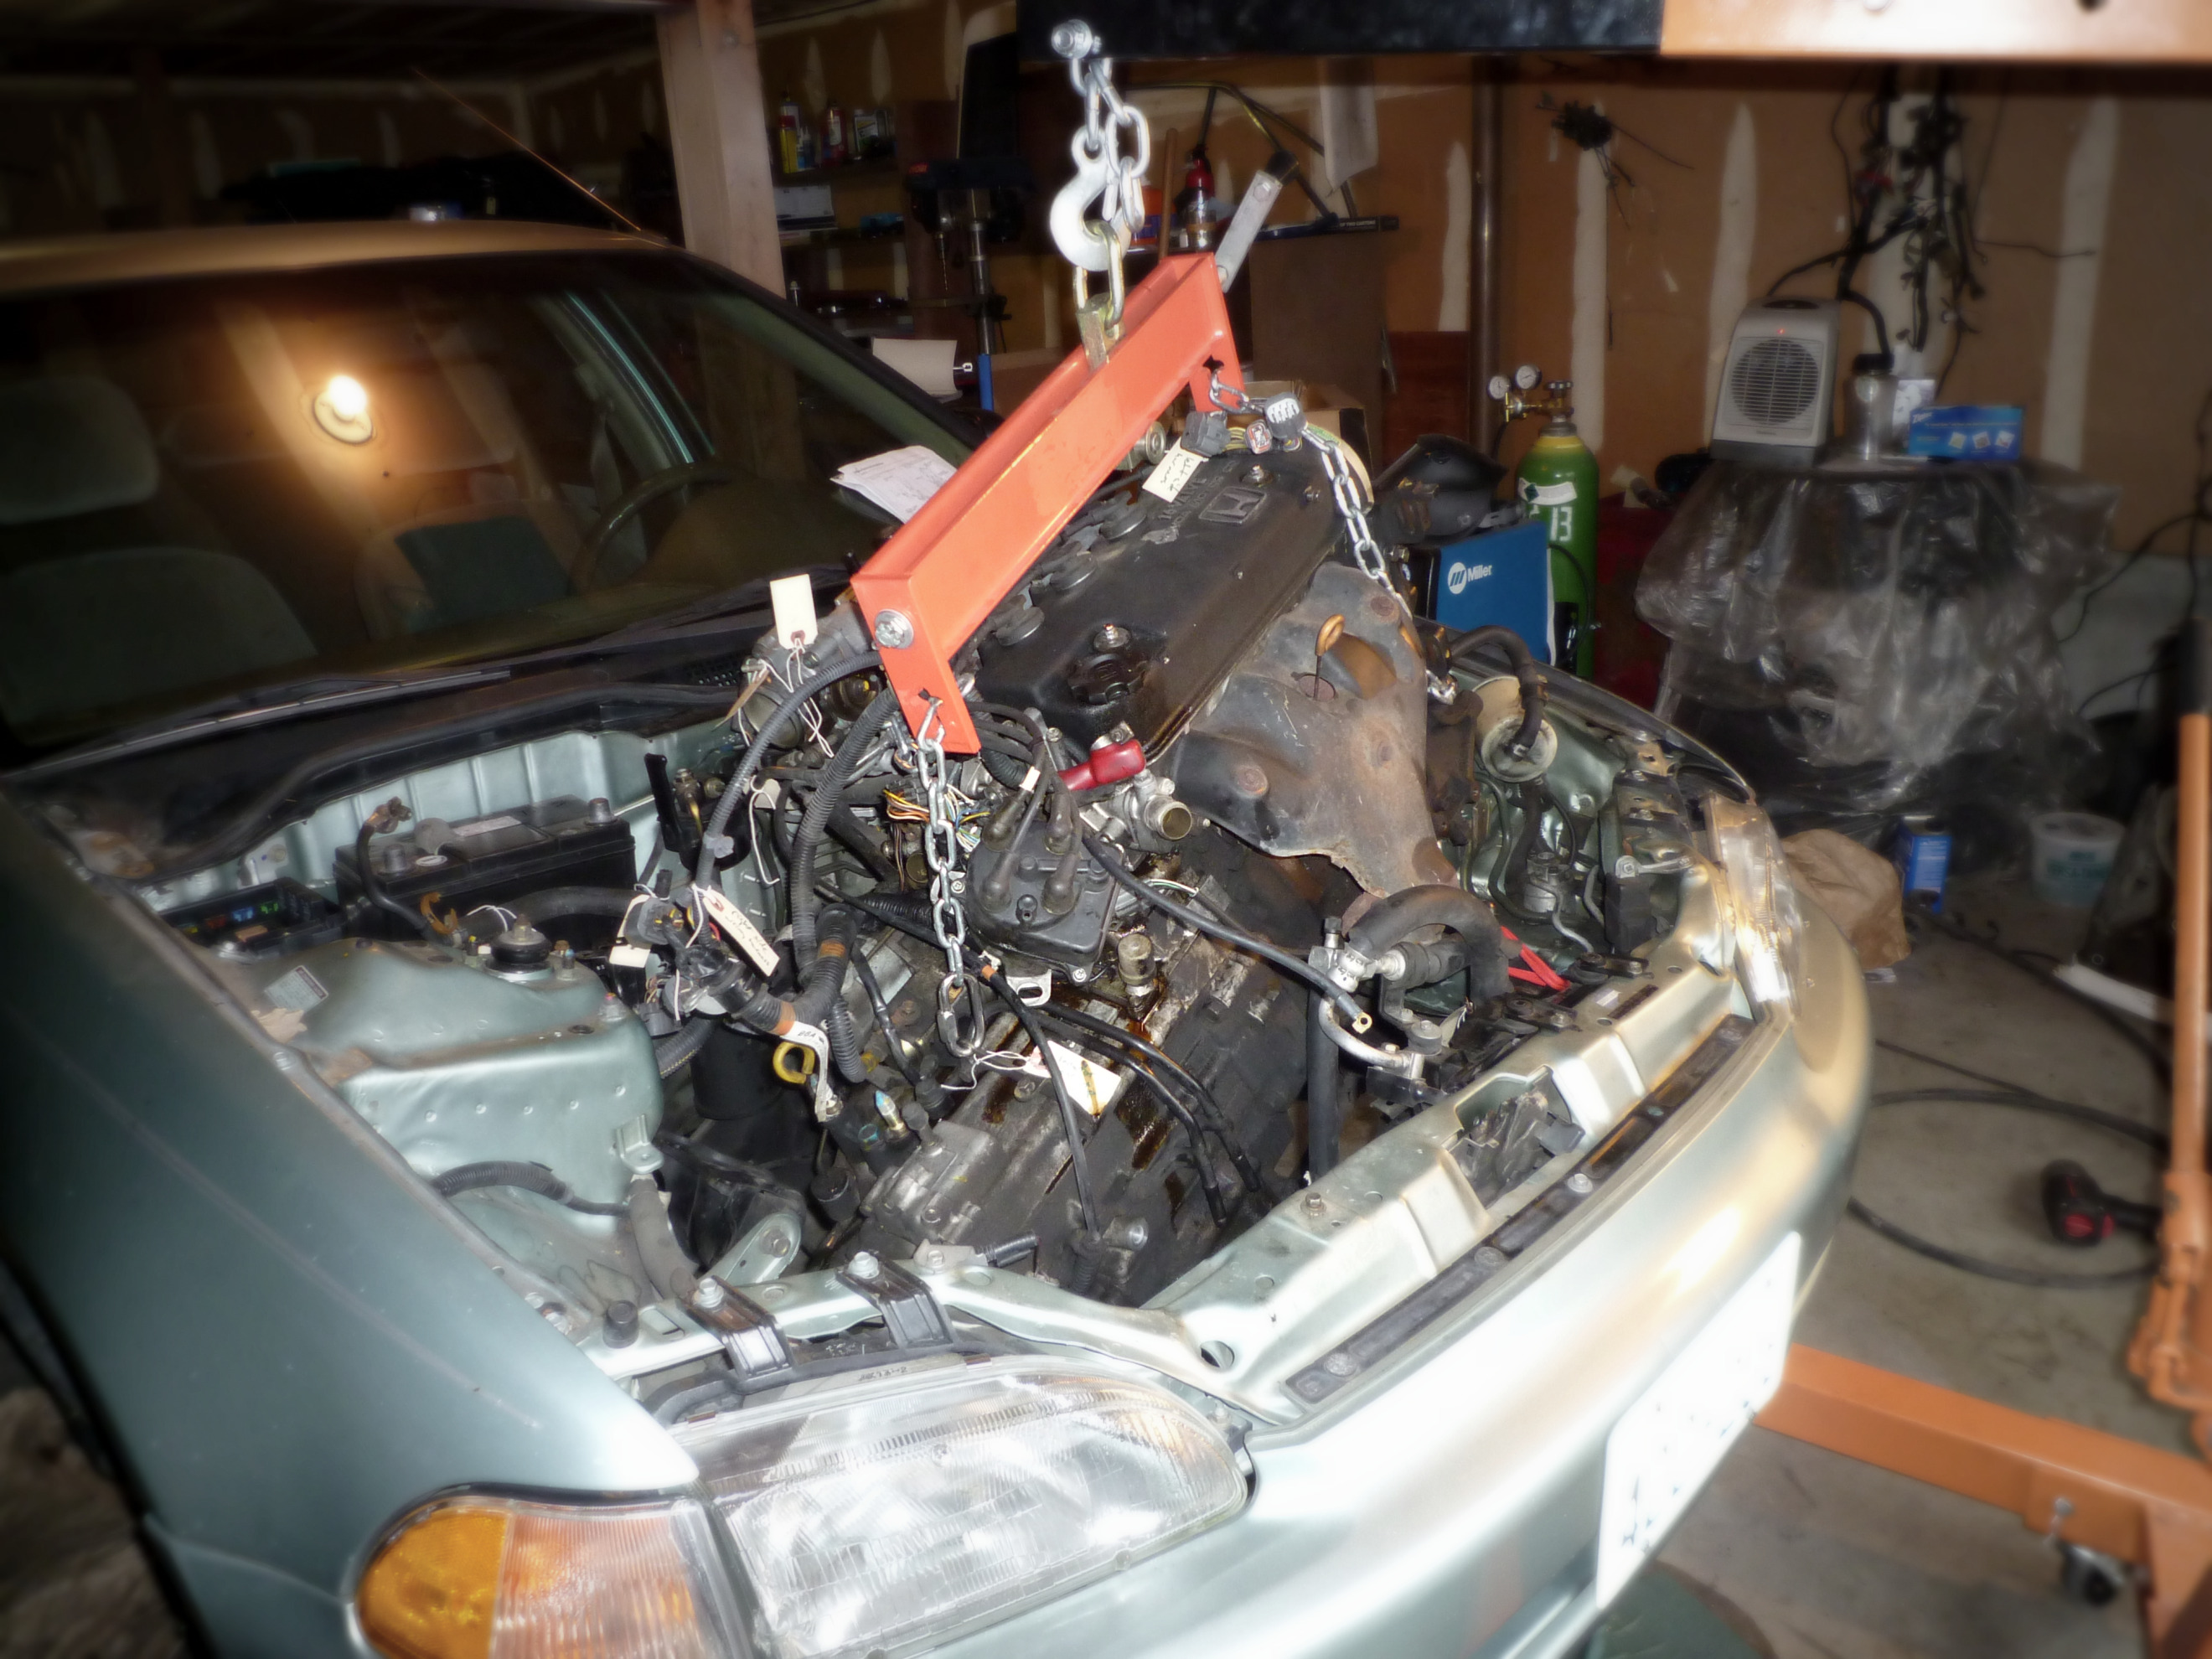
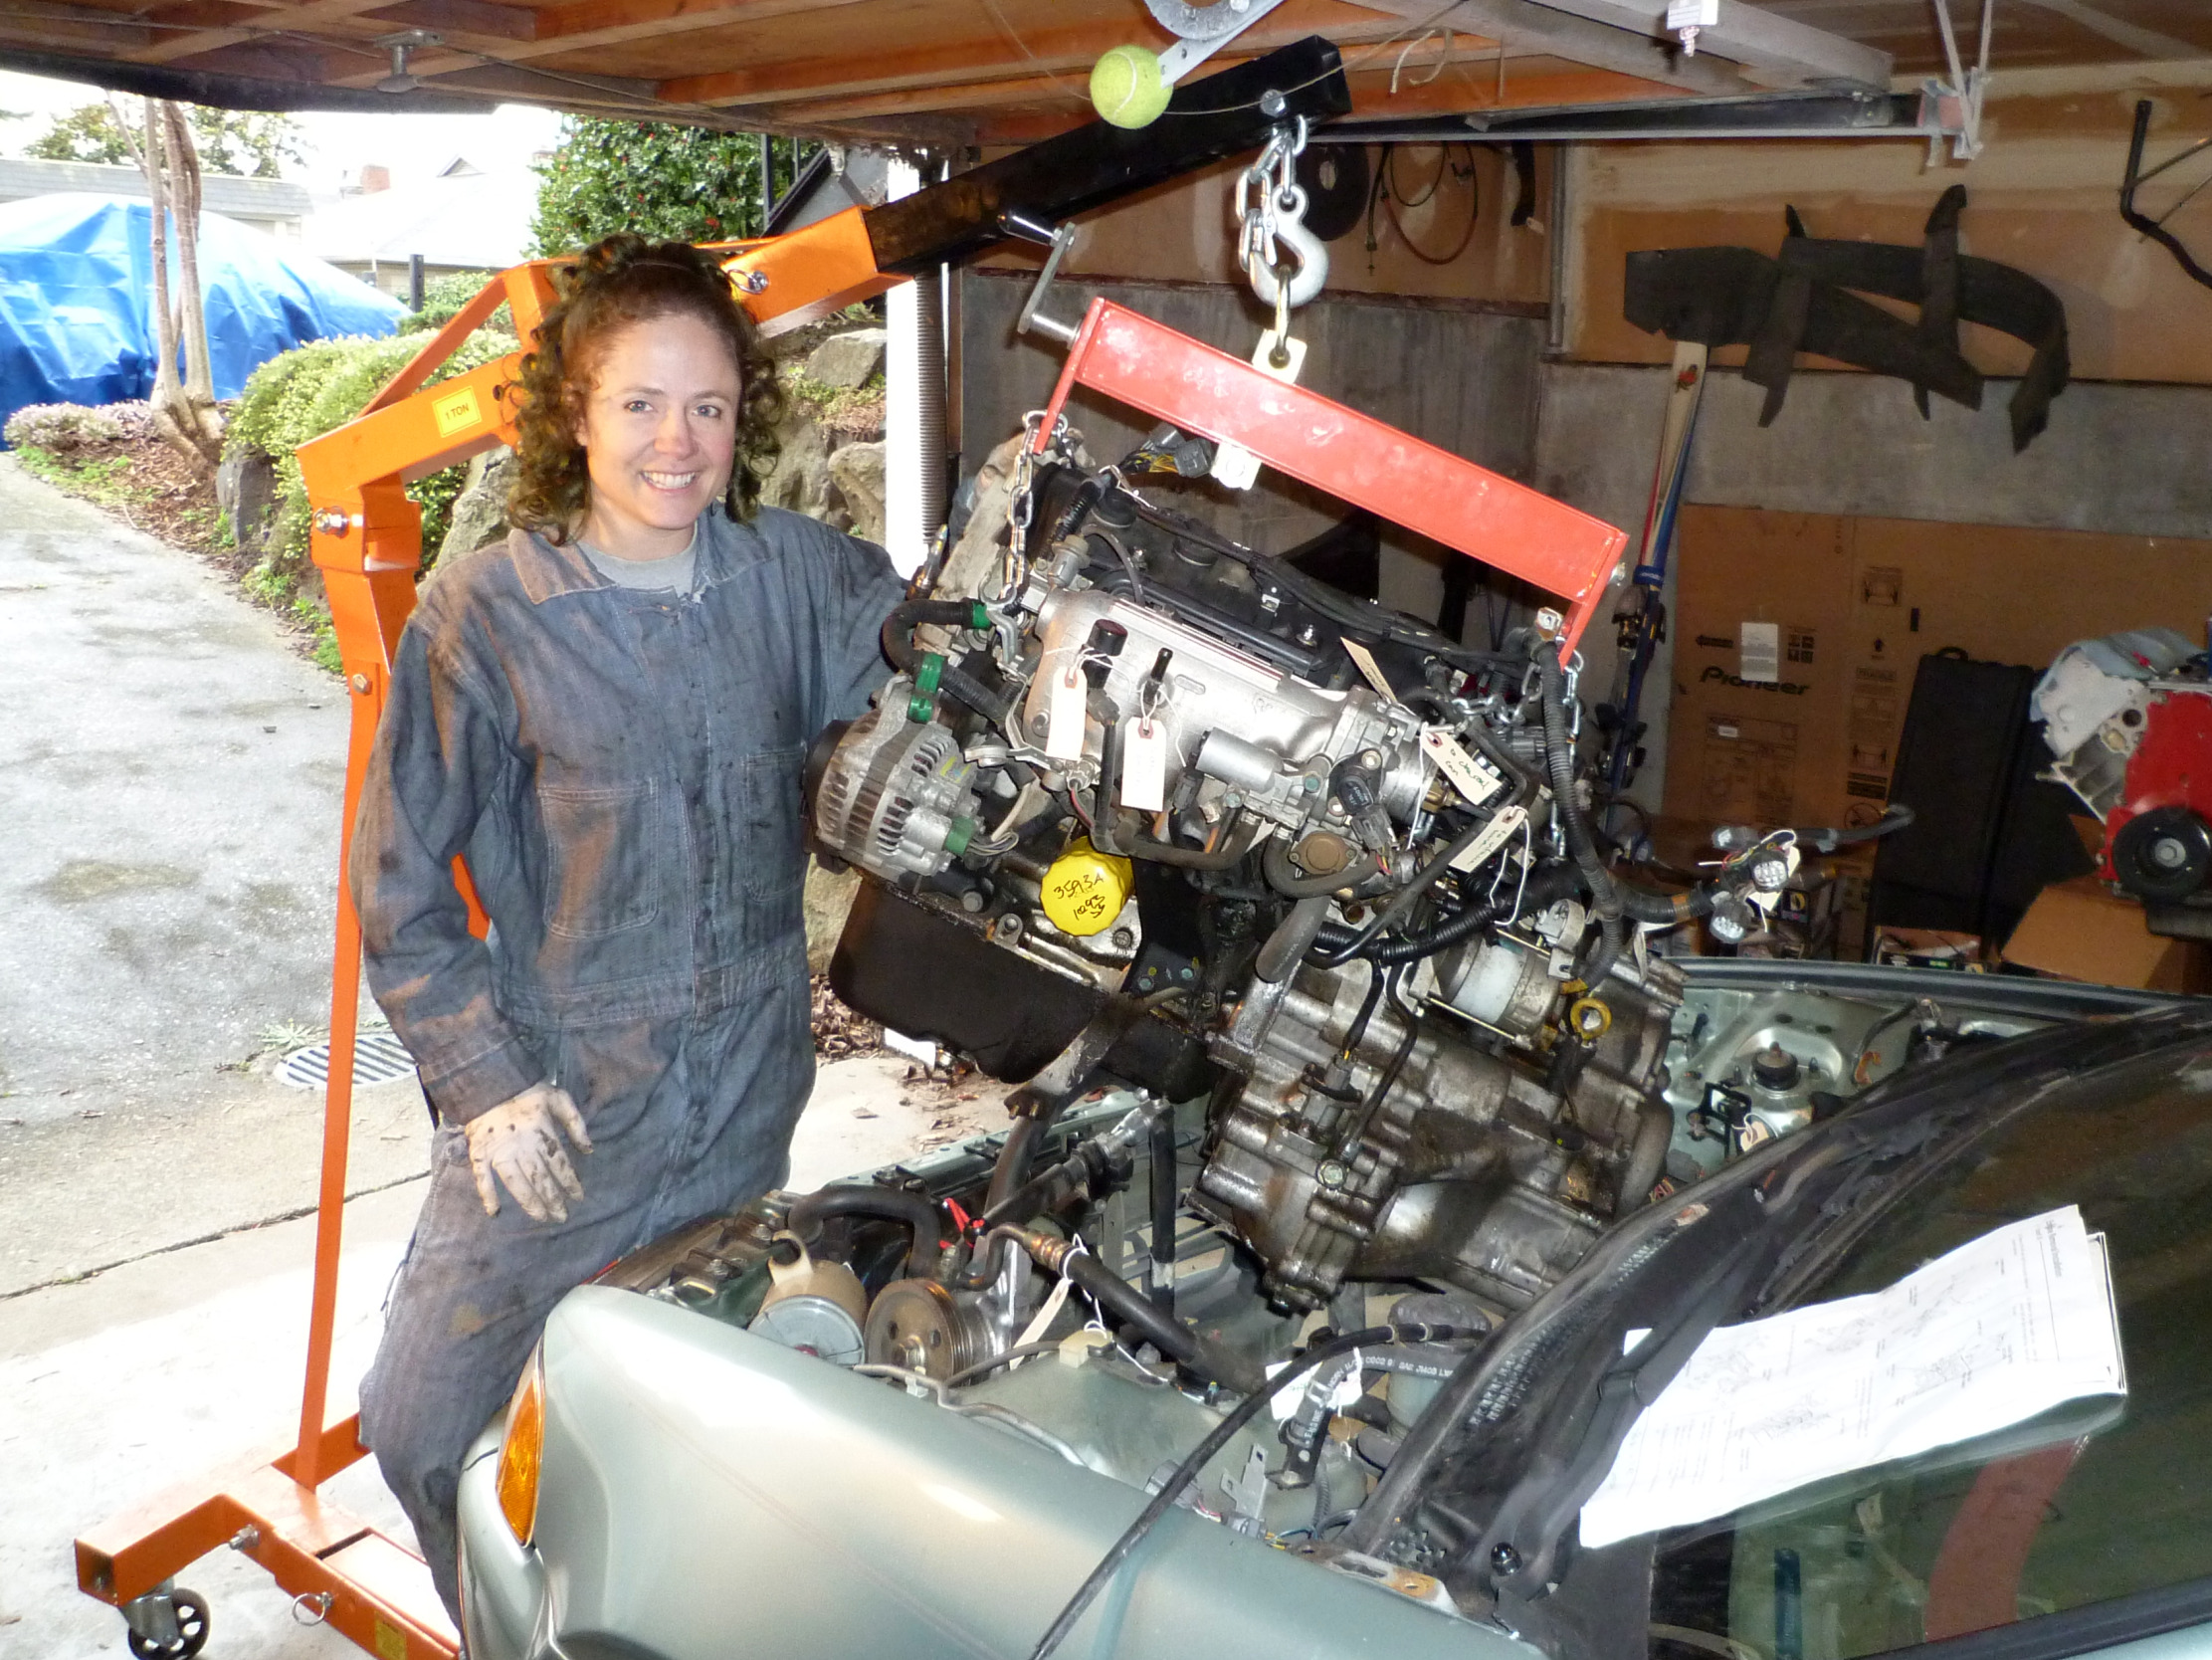
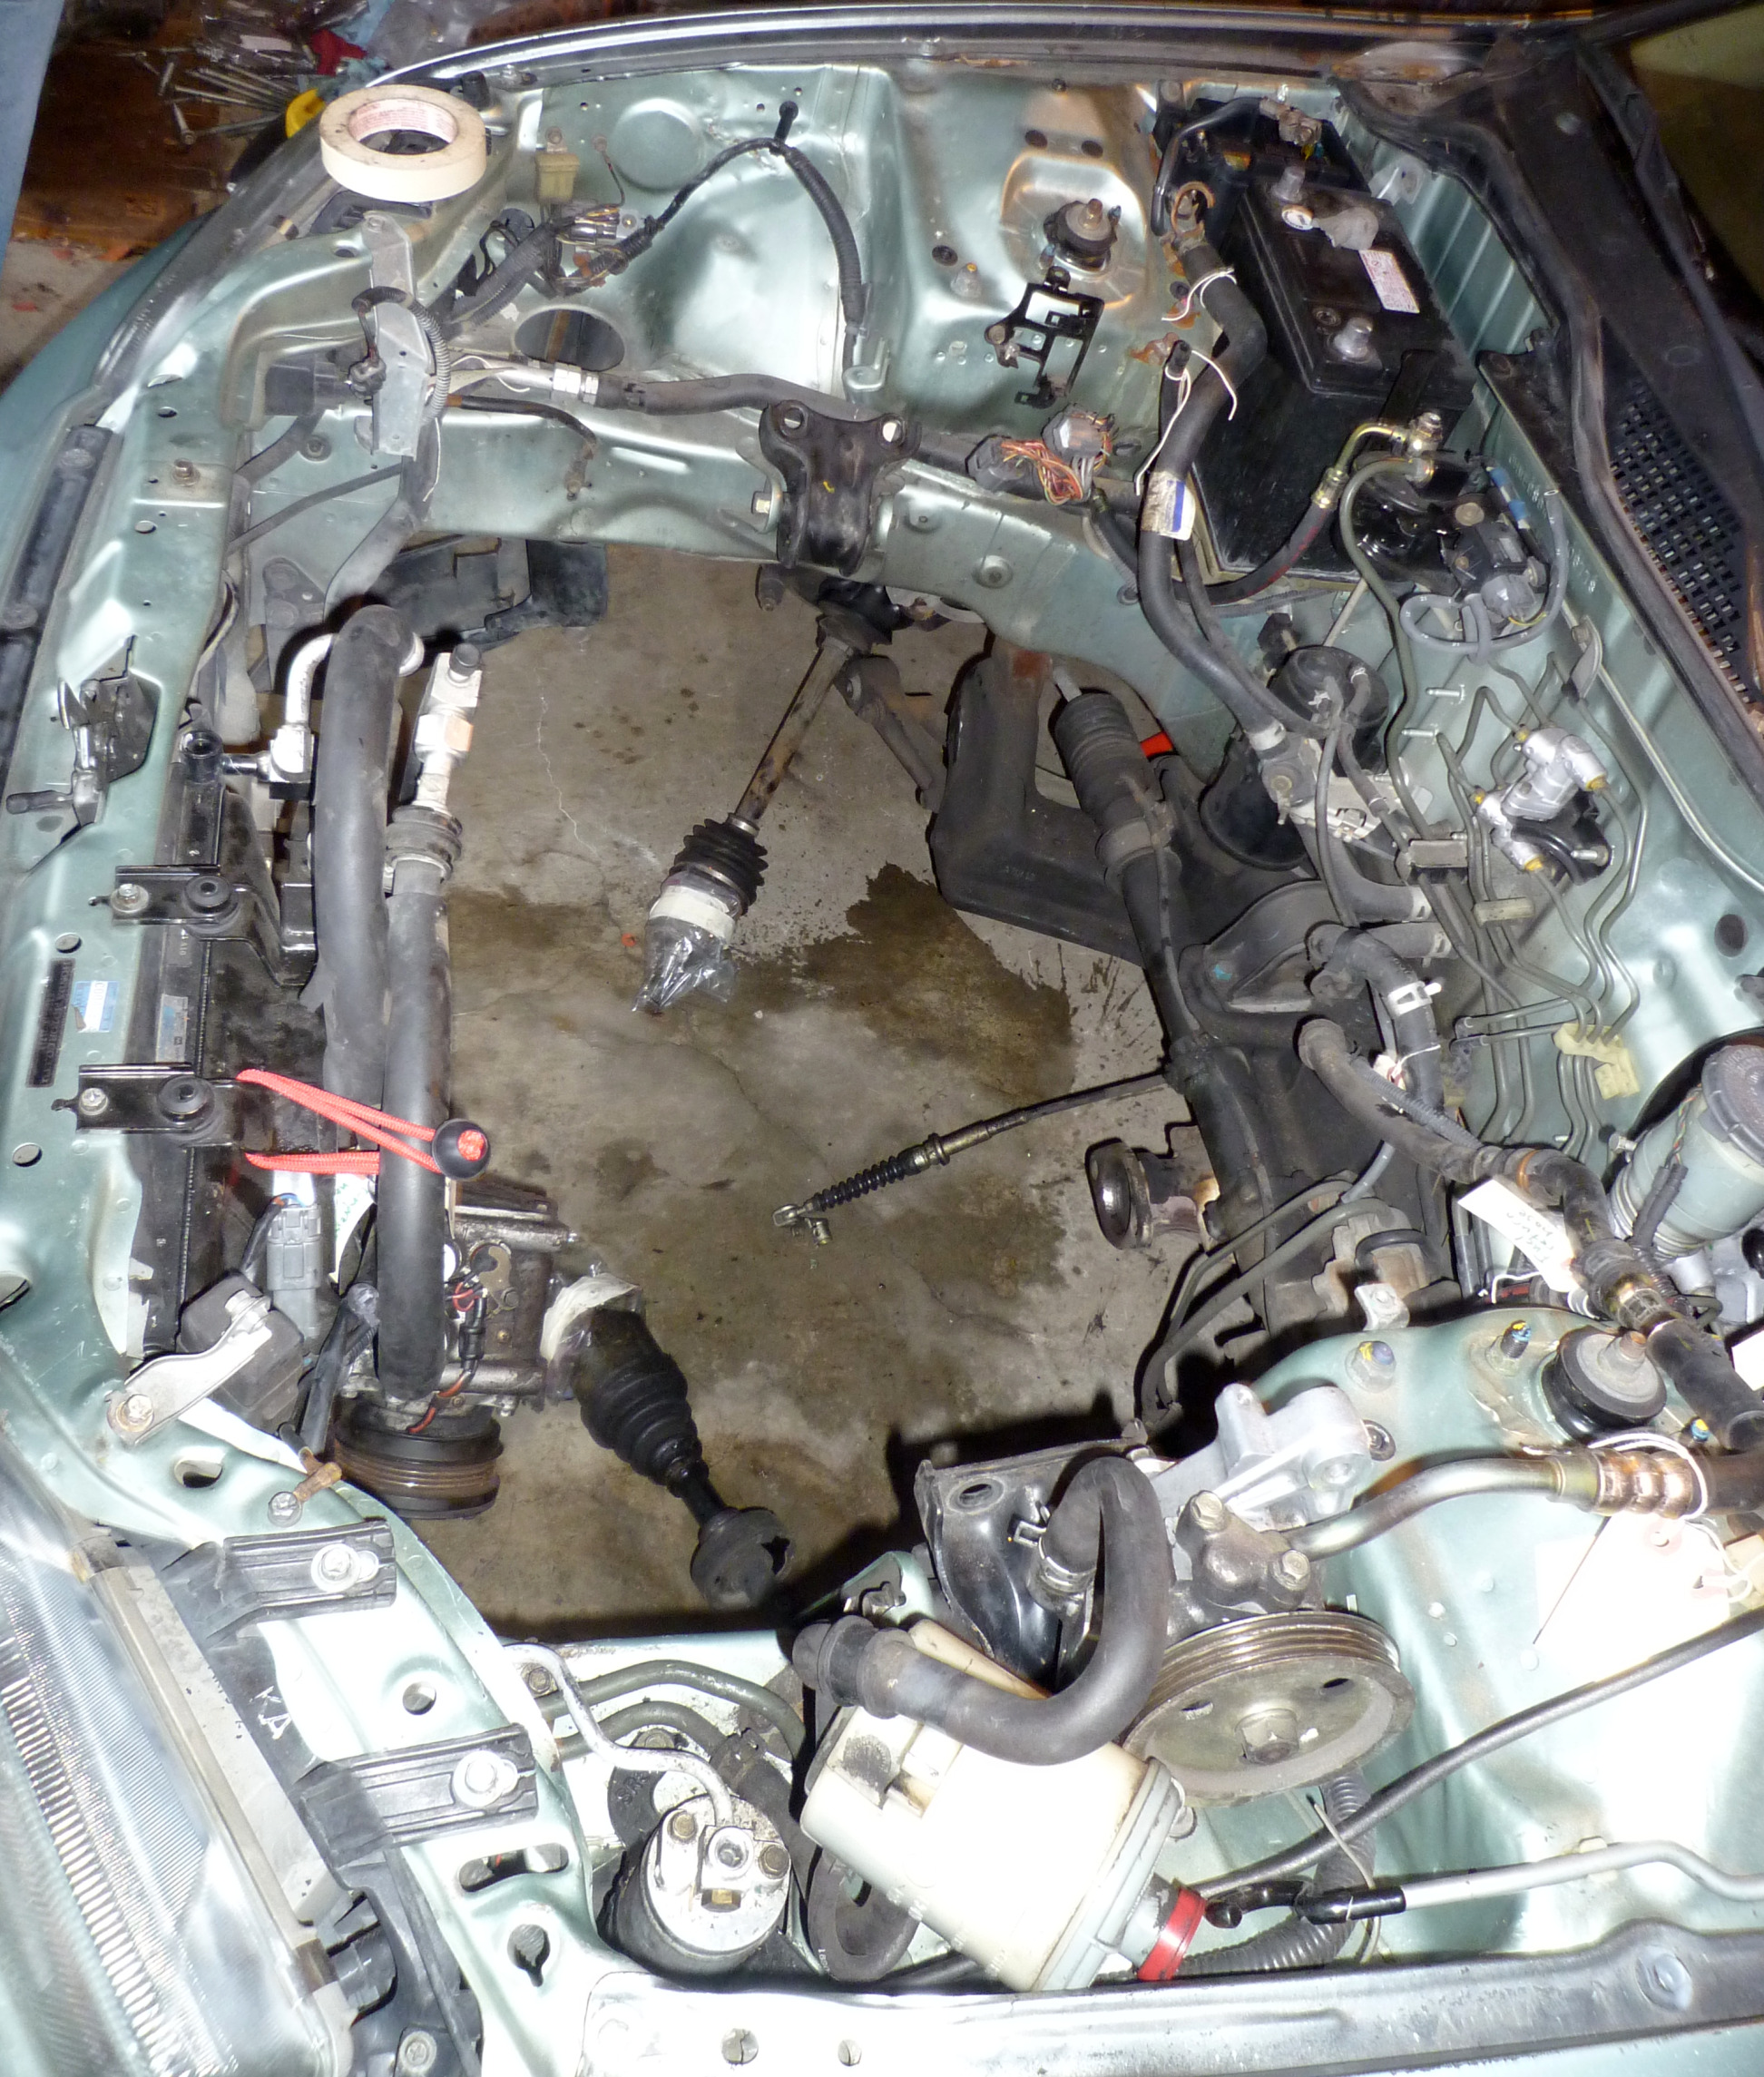
Then, we spent a weekend in coveralls and disposable gloves, getting coated in all manner of synthetic gunk (sometimes at unexpected moments). Grant patiently let me do all of the actual work, removing bolts and clips, labeling parts, etc. By the end of the weekend I was pretty good at estimating the size of a bolt head. I can also name a lot of the parts under my hood, and understand at least how they fit together (if not all the details of how it actually works).
I experienced a minor shop injury when my thumb got jammed between a pneumatic wrench I was using and a foot of the hoist. Luckily, Grant sprang into action right away and was able to reverse the wrench to free my thumb. For a little while I was afraid it was serious, but by the next day it was already a lot better.
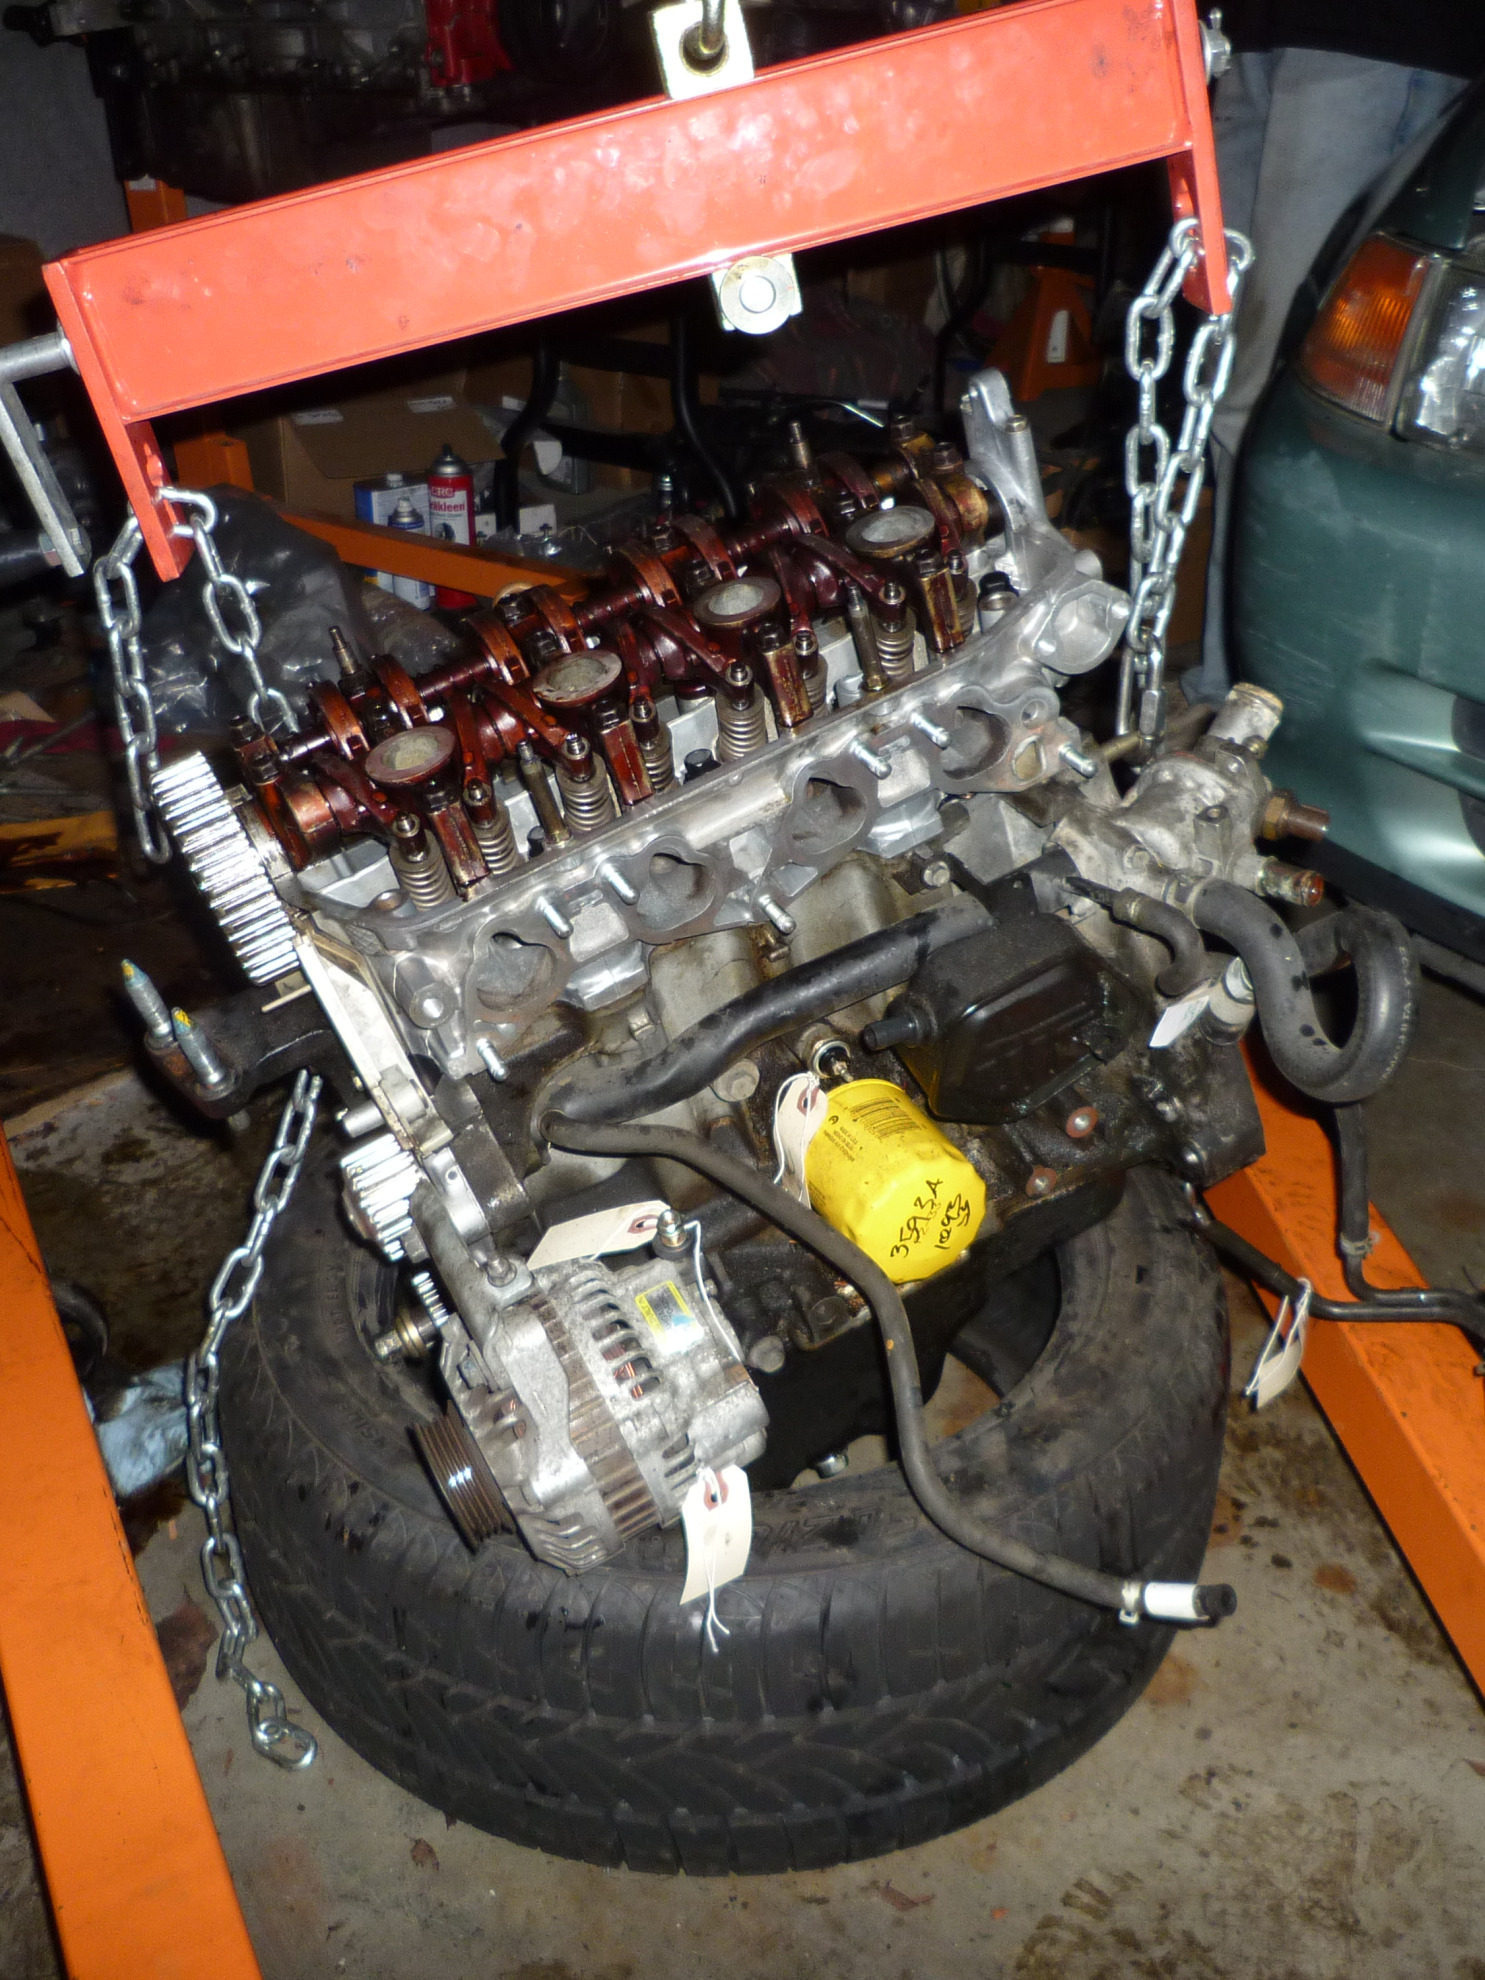
As far as the car, it does not yet have a new engine in it. Both engines are sitting in the garage as we consider our next step. Once my engine was removed, some complications emerged. (The new engine was a manual transmission, and lacking power steering.) These could be fixed by moving a bunch of pieces to the new engine. However, we noticed that my existing engine was (visually) in great shape. The hoses and belts appear almost new. We realized that we had just done all the intensive labor that makes head gasket replacement so expensive. The only part of the process that we can’t do is to resurface the head, and if we take just the head to a machine shop, it’s pretty cheap. Then, we need to buy a new gasket kit and should be good to start reassembling everything. (I’d return the “new” engine, which has a 30 day warranty.)
I feel pretty confident with the engine at this point. I realize that this is a false sense of confidence because taking everything apart is the easy half of the job. The real test will come when we start to put it all back together. I’m excited to see how challenging that will be, and if I remember it all well enough.
Filed under: handiwork, learning
| « Car project (entry 1 of 4) | Car project (entry 3 of 4) » |


March 3rd, 2010 at 8:53 pm
Cliffhanger!
I’m so enthralled and impressed by your car story. I wanted to talk with you about it at Salon but my social skills were really off that night (I’d just gotten back from MT seeing my mom). So I’m glad I happened on these entries…. And when do we get to read the rest?!!!?